how To flash the firmware on your Samsung Galaxy J3 (model number J320AZ) after downloading it, you’ll need to follow these steps carefully:
- Prerequisites:
- Make sure your device is charged to at least 50% to avoid any interruptions during the flashing process.
- Backup all important data on your device as flashing will erase all data.
- Download and install Samsung USB drivers on your computer.
- Ensure you have downloaded the correct firmware file for your Samsung Galaxy J3 (model number J320AZ).
- Extract the Firmware File:
- Extract the firmware file you downloaded. You should have a file with a .tar or .tar.md5 extension.
- Samsung J320AZ U3 Flash File Firmware
- J320AZTUS3AQG1 USA_6.0.1
- Download Link:: Link
- J320AZTUS3BQL1 USA
- Download Link:: Link
- Download Odin:
- Download and extract the Odin flashing tool on your computer. Odin is a utility software developed by Samsung for flashing firmware onto Samsung devices.
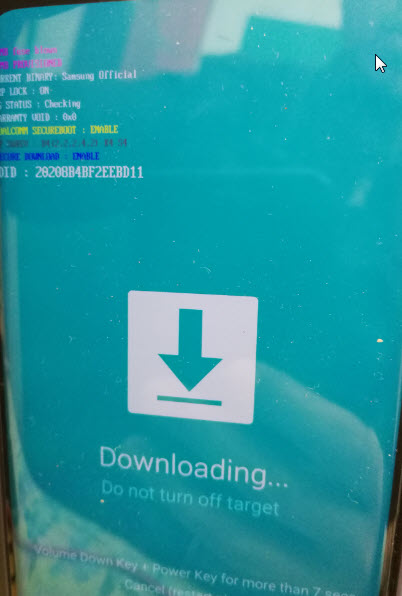
- Boot your Device into Download Mode:
- Power off your Samsung Galaxy J3.
- Press and hold the Volume Down, Home, and Power buttons simultaneously until you see a warning screen.
- Press the Volume Up button to enter Download Mode.

- Open Odin:
- Launch the Odin flashing tool on your computer by double-clicking the executable file.
- Connect your Device to the Computer:
- Connect your Samsung Galaxy J3 to your computer using a USB cable. Odin should recognize your device, and the ID:COM box should turn blue or yellow.
- Load the Firmware File in Odin:
- In Odin, click on the AP button and select the firmware file you extracted earlier.
- Start the Flashing Process:
- Once the firmware file is loaded in Odin, click the Start button to begin the flashing process. Do not disconnect your device during this process.
- Wait for the Flashing Process to Complete:
- The flashing process may take a few minutes. Once it’s complete, Odin will display a ‘Pass’ message in a green box.
- Reboot your Device:
- Your Samsung Galaxy J3 will automatically reboot after the flashing process is complete.
- Set up your Device:
- Once your device has rebooted, set it up as usual. You may need to restore your data from the backup you created earlier.
That’s it! You have successfully flashed the firmware on your Samsung Galaxy J3 (J320AZ). Ensure that you follow each step carefully and avoid interrupting the flashing process to prevent any issues with your device.