emove FRP (Factory Reset Protection) on your Nokia C10 smartphone effortlessly using the Avengers Unisoc Test Point Tool.
Nokia C10 FRP Bypass and Safe Data Format Using Test Point Method by Avengers unisoc
To guide you through the process of resetting the FRP (Factory Reset Protection) on your Nokia C10 using the TFT unlock tool, follow these steps:
Downloading from Google Drive?
Password to extract: TFT
Password for Installation: TFTDOWNLOAD TOOL – GOOGLE DRIVE LINK
1. Extract the zip file and double click to begin installation.
2. Please enter the password in all caps as TFT and installation will begin.
3. Open tool and Run in Administrator mode only. Don’t change the login details it will automatically generate one for you.
- Launch TFT Unlock Tool: Start by launching the TFT unlock tool on your computer.
- Navigate to Nokia Tab: In the TFT unlock tool interface, locate and click on the “Nokia” tab. This tab should contain options and functions specifically designed for Nokia devices.
- Select Phone Model: Once you’re in the Nokia tab, you should see a list of Nokia phone models. Look for and select your specific phone model, which in this case is the Nokia C10.
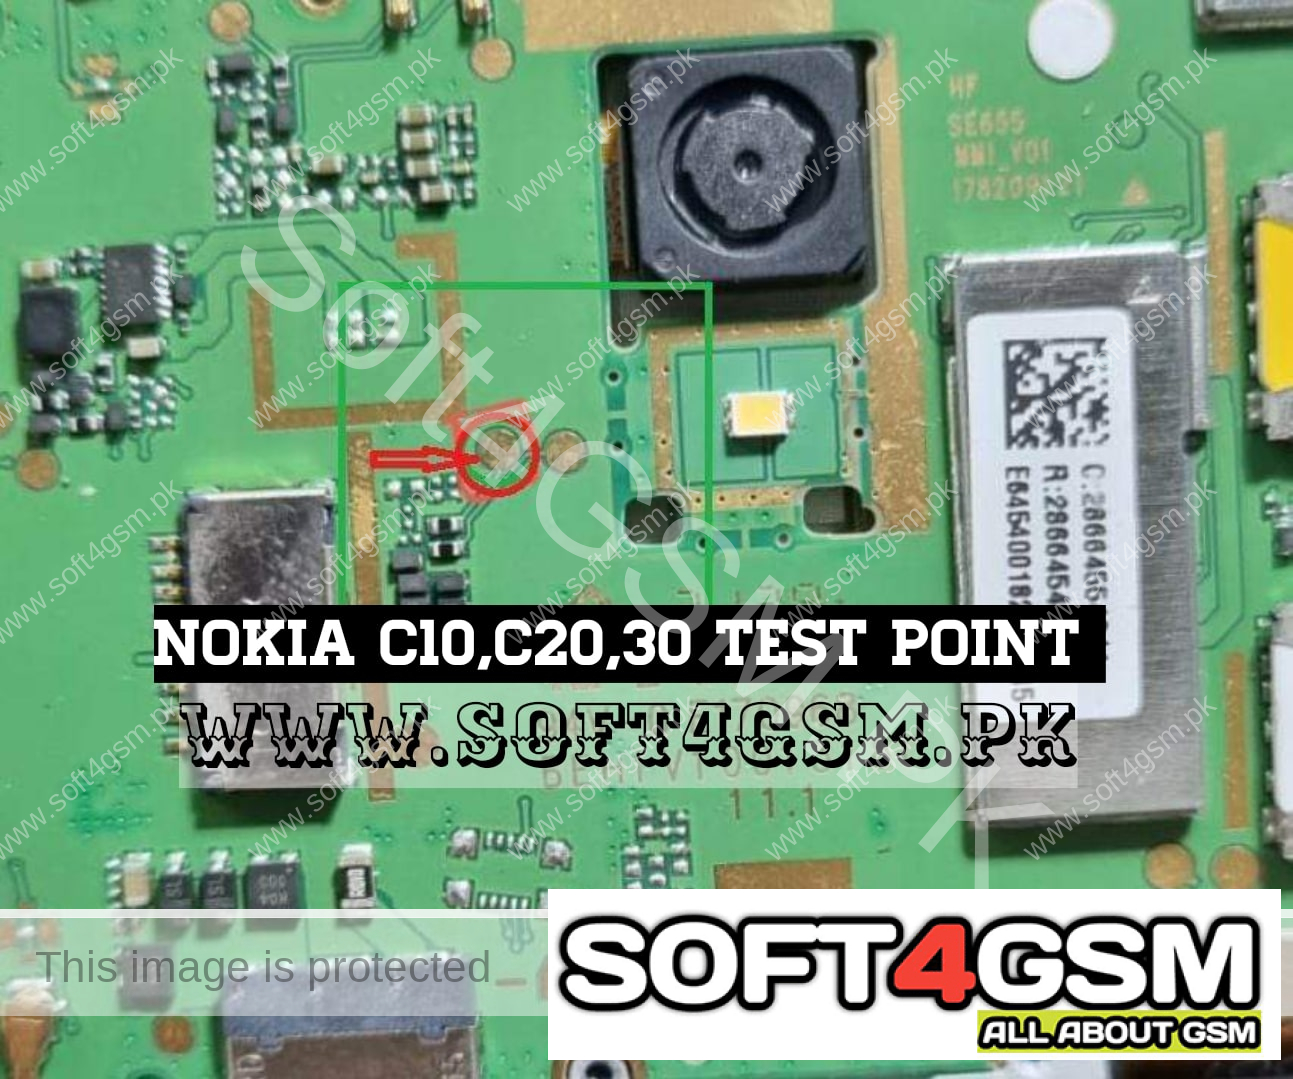
- Connect Your Phone: Make sure your Nokia C10 is powered on and connected to your computer via a USB cable. Ensure that the phone is in SPD Diag mode. You may need to follow specific instructions to put your phone into this mode, which typically involves key combinations or settings adjustments.
- Choose SPRD Erase FRP: After your Nokia C10 is successfully connected in SPD Diag mode, within the TFT unlock tool, locate the option labeled “SPRD Erase FRP” or similar. This option is designed to remove the FRP lock from your device.
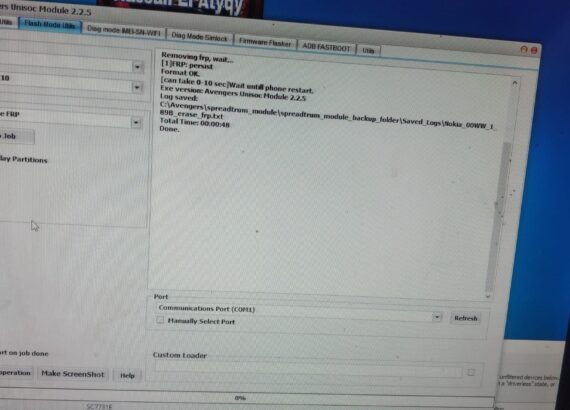
- Execute the Process: Click on the “SPRD Erase FRP” option to initiate the FRP reset process. The tool will begin communicating with your Nokia C10 and executing the necessary commands to bypass the FRP lock.
- Wait for Completion: Allow the tool to complete the FRP reset process. This may take a few moments, depending on the speed of your computer and the responsiveness of your device.
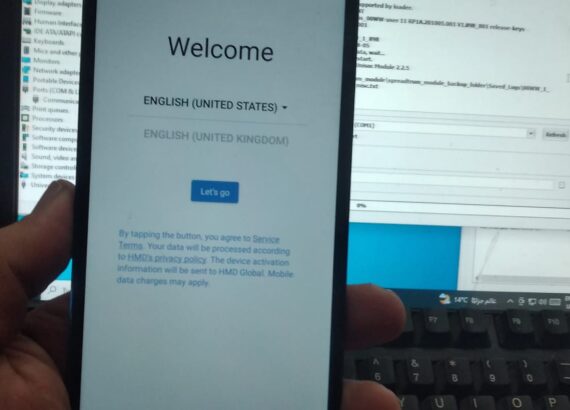
- Confirmation: Once the process is complete, the tool should provide confirmation that the FRP lock has been successfully removed from your Nokia C10.
- Disconnect Your Phone: Safely disconnect your Nokia C10 from the computer once the FRP reset process is finished.
Following these steps should help you reset the FRP lock on your Nokia C10 using the TFT unlock tool. Remember to always ensure that you have the necessary permissions and authorization to perform such operations on your device.