Understanding how to locate and use test points Samsung a50 is paramount for those seeking to remove FRP locks, enter EDL mode, and unlock MTK and SPD devices using box like SigmaPlus, Unlock Tool, Miracle Box, and EFT Box.
Test points are physical locations on a device’s motherboard that, when shorted or connected, enable the device to enter specific modes like EDL (Emergency Download Mode). This mode is often used for flashing firmware, unlocking bootloaders, and performing other advanced functions that are not typically accessible through regular means.
For Samsung devices, locating the test point can vary depending on the model and manufacturer. However, with the right tools and knowledge, users can easily identify the test point and use it to their advantage. This process is particularly useful for bypassing FRP locks, which can be a significant barrier for users trying to access their devices after a factory reset.
In addition to FRP bypass, test points are also essential for unlocking MTK and SPD devices using popular tools like SigmaPlus, Unlock Tool, Miracle Box, and EFT Box. These tools rely on the correct identification and utilization of test points to communicate with the device and perform various unlocking procedures.
- Prepare the necessary tools: You will need tools such as a soldering iron, tweezers, and a USB cable. Additionally, you may require specialized tools like a JTAG box or other hardware tools compatible with your device.
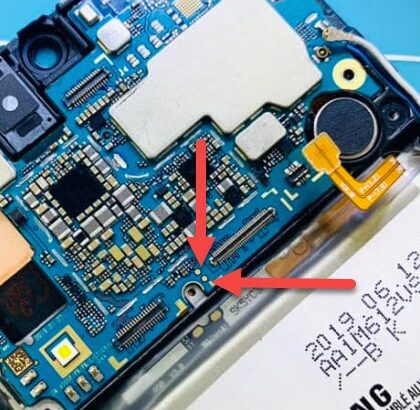
- Identify the test point: Locate the test point on the motherboard of your Samsung Galaxy a50 ..
. The test point is typically a set of solder pads or pins that need to be shorted to enter into a specific mode.
- Disconnect the battery: Before proceeding, ensure that the battery of your device is disconnected to avoid any potential damage during the process.
- Short the test point: Use tweezers or a conductive wire to short the test point on the motherboard. This action usually puts the device into a special mode, such as EDL (Emergency Download) mode or another mode required for FRP removal.
- Connect the device to the computer: While keeping the test point shorted, connect your Samsung Galaxy a50 to your computer using a USB cable. Ensure that the necessary drivers are installed on your computer for proper recognition of the device.
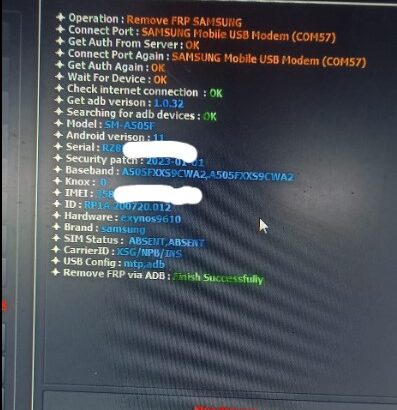
- Use compatible software tools: Once the device is connected in the special mode, you can use compatible software tools such as Odin, Miracle Box, UFI Box, z3x , unlocktool , octoplus , hydra tools or other similar tools to perform the FRP removal process.
- Follow the software instructions: The software tool you’re using should have specific instructions for removing FRP. Follow the on-screen prompts and commands provided by the software to complete the FRP removal process.
- Disconnect the device: After the FRP removal process is complete, safely disconnect your Samsung Galaxy a50 from the computer and remove any hardware modifications made during the process.
- Reconnect the battery: Finally, reconnect the battery of your device and power it on to complete the process.
samsung a50 frp done